Showing posts with label essence. Show all posts

30 January 2012

Day 31 – Recreate your Favorite Challenge

Day 31 – Recreate your Favorite Challenge

Hello! Today will be the day the challenge bids farewell to all of us. And for Day 31’s rules is to Recreate your Favorite Challenge.

But before I do that, I just want to share with you the gift I received from my sister last New Year.


This pack includes Sassy 2 way Nail Art Pen in Black, Bobbie Purple Passion and Chic Missy Daisy. I looove all of those and can’t wait to try all of them.

So going back to the challenge, I decided to recreate Day 17 which is glitters. This day isn’t my favorite. But I decided I’d do this for two reasons. One is because I wanted to make up for not posting a better glitter polish and two, so that I’ll have a reason to use my new polish.

I thought I’d use Bobbie Purple Passion. Purple Passion is a very pale purple polish with tons of micro holographic glitters. Here’s how they look like inside the bottle.


Aren’t they lovely? I fell in love the moment I saw it. I tried putting it as it is. But the polish is so sheer that even 3 coats can’t make it opaque. I decided to put a base color instead.


See what I mean? I used Essence Got a Secret as the base color. And even at this angle, you can see the shining shimmering splendid holo glitters. Got a Secret is a gray polish but it started looking like lavender after using Purple Passion. The formula is super okay and application is a breeze. I had 2 coats of Got a Secret and two coats of Purple Passion. One more good thing about this is that it dries quickly and not as thick. I remember my other Bobbie polish will feel thick on my nails.

Here’s a better look at the glitter goodness.


And a closer look.


I think this polish would work well if it will be used like a top coat. I will try to use this on top of different colors one of these days. The polish is so awesome that I cannot stop staring at my nails even the day after (I decided not to remove it yet). These photos do not even give justice on how splendid this polish is. And for just PHP35 (approximately US$0.81), this polish is totally worth it.


What do you guys think?

29 January 2012

Day 30 – Inspired by a Tutorial

Hey lovelies. J We’re at the edge of finishing the challenge. I have for you today a mani that is Inspired by a tutorial.


Panlovespolish is the first nail blogger I ever followed. Even before I discovered that there are a lot of nail bloggers, even before I started doing my own nails and even before I made my own nail blog. Her swatches are awesome. And she does a lot of great nail art and a tutorial for them. I already did a couple of nail designs that are inspired by her. Too bad she is not that active anymore. L

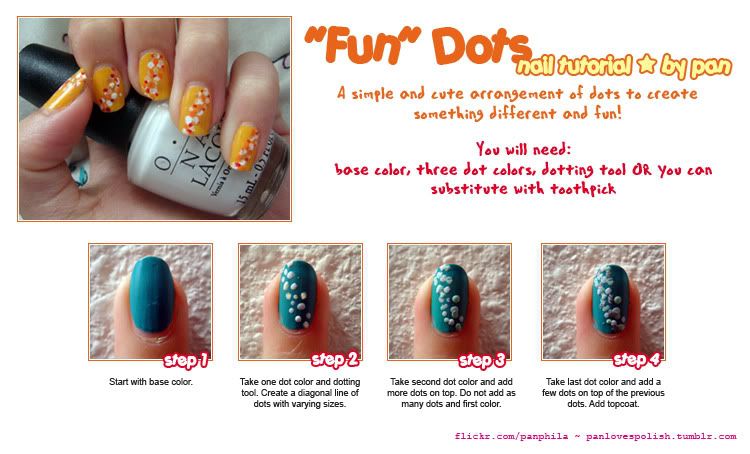
So for this second to the last installment, I decided I’d do a nail tutorial from her that I haven’t tried yet, her “Fun” Dots.


I added some twist to her design.


Instead of just doing it diagonally, I decided to write “Year” and “2012”. I think it’s a cute thing since we are fond of wearing and using circle and dots during New Year ’s Eve. It’s also my way of saying hello to the New Year since I wore this design a day before the New Year’s Eve.

I also want to take picture of my hand side by side so that you can read it as a phrase. But my sister had hard time doing that. She kept on laughing at my fat fingers; she said it looks like crab. Hahaha! This is the most decent picture she took.


What do you guys think of  the design?

Colors Used:
Essence Do a Floating Pirouette
Essence Found my Love
Les Couleurs de Salome
SanSan Violet Glam

26 January 2012

Day 27 – Inspired by an Artwork

Hey guys! Today is one of the days I am very excited about. This post will show you Day 27 of the challenge which is Inspired by an Artwork.

I celebrated my last birthday at Madame Tussauds in Amsterdam. I saw a lot of wax statues and famous things in the museum. One of them is what inspired me for this design. I’ve been wanting to try this on my nails but didn’t get the time to do it.


Piet Mondrian is famous for his geometric paintings. Here is a sample of his work.


The design looks simple although would take a lot of time to do especially for a person like me that have a shaky hand. But the results are totally worth it.

I decided to “divide” parts of the artwork on each of my nails since I don’t think it would fit on just one nail. It also gives a fun look since no nail is identical.


I started painting all of my nails white as base color before drawing the other shapes. With the help of a nail art pen and a nail art brush, I was able to draw lines on and parallelograms on my nails. As you might have notices, those lines are not as crisp and straight, as I’ve mentioned, I really have a shaky hand.


I love the overall look of this design. It’s very simple but still catchy.

Tell me what you think.

Colors used
Essence Perfectly True
Elianto Novy
Sassy Nail Art Brush Black
Sassy Nail Art Brush Yellow
BNC 2way Nail Art Pen Red

18 December 2011

Day 18 – Half Moon

Hi everyone! Today is Day 18 of the Challenge. For this day, we are required to do Half Moon.


Half moons are something I like looking at other people’s nails, but not mine. And this challenge made me do it. Looking on a brighter side, I get to try it on my nails.

I’m not really sure if this would pass as half moon since I’m only using one color. I wanted to use Essence Do a Floating Pirouette but had a hard time choosing what color to pair it with. I ended up using only that color.

I didn’t use any paper reinforcement for this design, hence the crookedness. I used a nail art brush to draw the “moon’s” outline and filled it up using the polish’s brush. I used two coats.

Over all, I liked how I was able to do this design for the first time. But I’m not sure if I’m gonna do this in the near future.

What do you guys think of half moons?

16 December 2011

Day 16 – Tribal Print

Hi guys! Welcome to day 16 of the challenge. What I have for you are some tribal prints.


I’ve been wanting to try this design for a long time but didn’t find the time to do so. So thanks to this challenge, I was able to finally try this on. I decided not to use the typical white base. I saw this from Emerald Sparkled. But on that design, she used a gold polish. Since I didn’t have gold, I decided to use my most recent nail polish which is Art Club Bronze. This polish have a nail art brush, but I used a regular polish brush so that I can easily apply it on my nails. I used Essence Perfectly True on my accent nails. Then I used black nail art brush and dotting tool to draw the lined dots and sun.


I liked how this one turned out. I’m thinking of doing this again in the future so that I can wear it more than a day. Here’s a closer look on the design.


What do you guys think?

Colors used:
Art Club Bronze
Essence Perfectly True
Sassy Nail Art Brush Black

13 December 2011

Day 13 – Animal Print

Welcome to day 13 of the challenge. What I have for you today are some animal print.

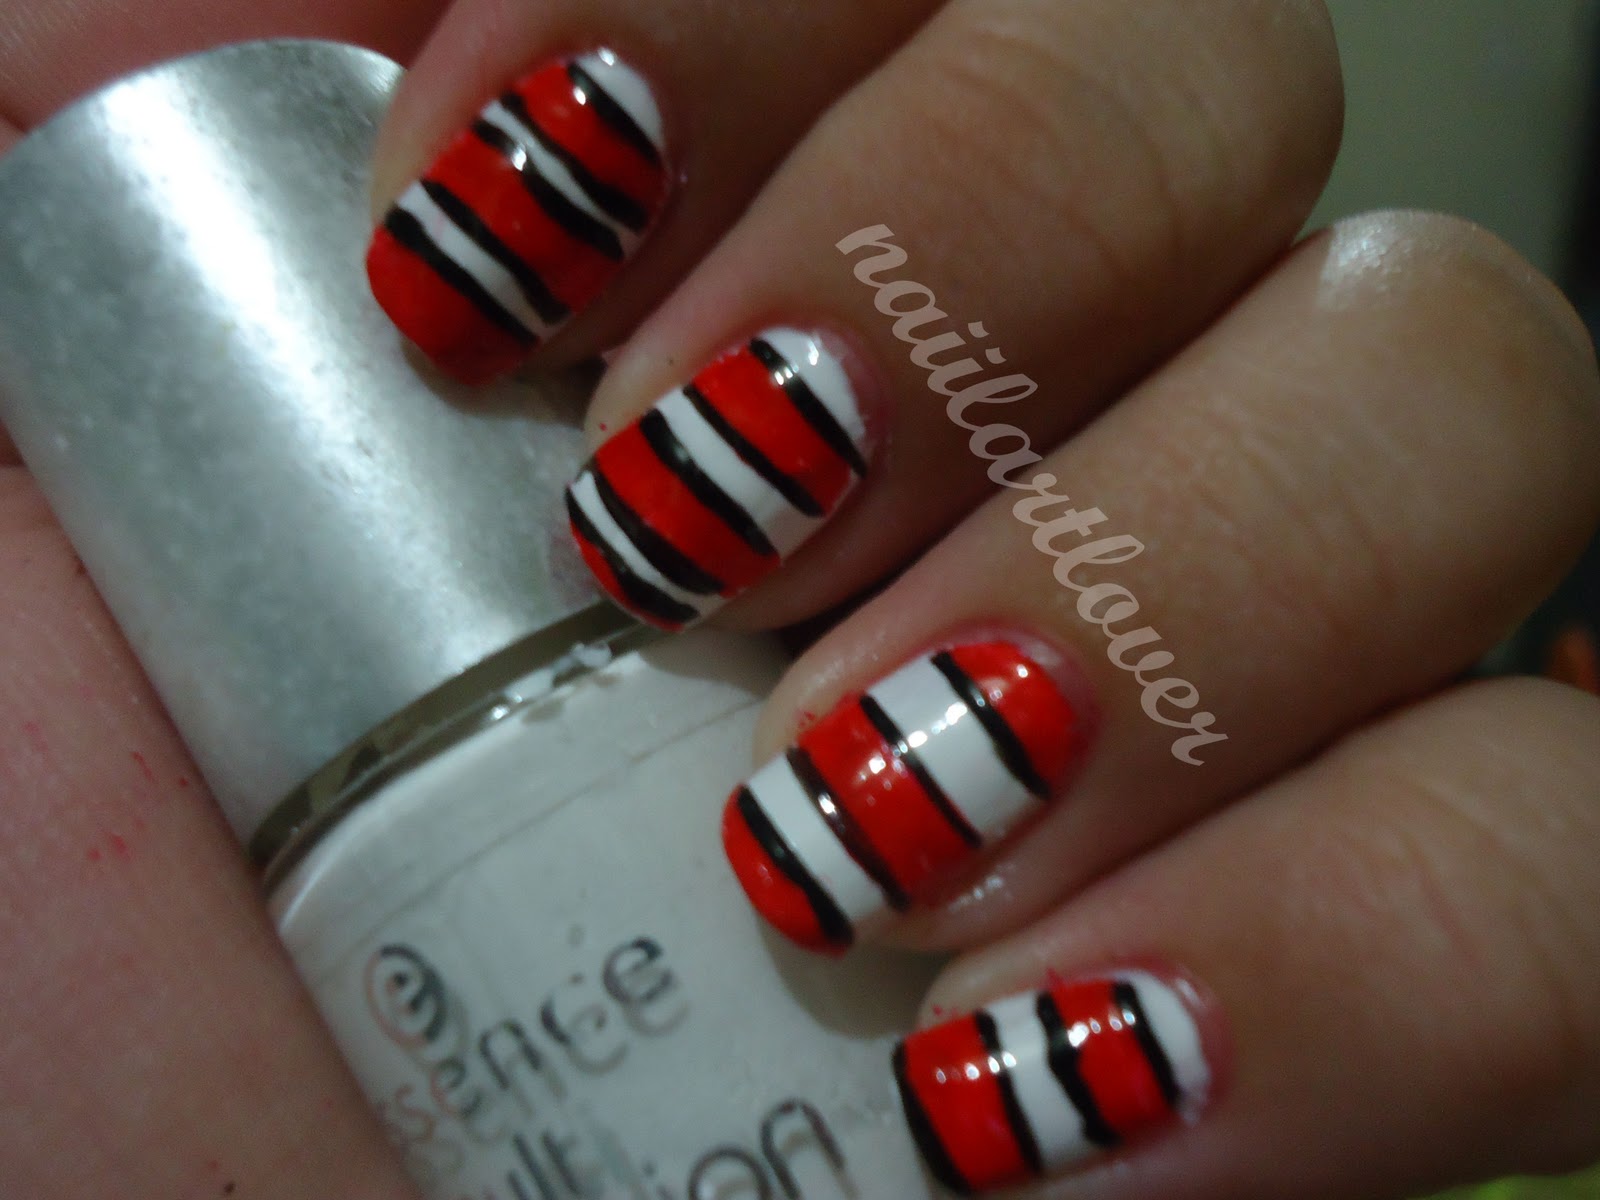
I was thinking of doing a cow’s print for today’s challenge. But after seeing Chalkboard Nails’ design for this challenge, I got inspired and thought of doing the cow print some other time. She created a not so famous animal print. So I did some research and this is my result.

Day 13 - Animal Print


After doing the nails, it looked more of a Nemo (clownfish) to me. Is that what you think of as well? Here is my inspiration for this design.

Day 13 - Animal Print
This pattern is from a Red Milk Snake. I used Essence Perfectly True as my base color. I striped in some red and black polish for the skin. I think the proportions is not more of the snake’s that is why it look liked Nemo. 


Even if it looked like Nemo, I still think it will pass for this challenge since he is an animal. I did have a hard time controlling the brush specially with a shaky hand like mine. But I still love the design.

Does it look like a Clownfish or a Red Milk Snake?

Colors used:
Essence Perfectly True
Red 2 way nail pen
Sassy Nail Art brush Black

11 December 2011

Day 11 – Polka Dots


I’m proud of myself for finishing the first ten days of this challenge. And for the eleventh installment, I have for you some Polka Dot nails.


I did have a hard time trying to figure out what design would look good with dots. I thought of doing some “French Polka” but it didn’t turn out pretty good. After a couple of trial and errors, I finally decided to just put on my name – my nickname actually.

My real name is Bo Yzolde, but I’m commonly known as “boyz” by my friends and family.


I used Chic Persian Red as base color and Essence Tryin’ to be Cool for the dots using a dotting tool. I drew some dots to create a smiling face on my thumb.


Although I know I need more practice in my “dotting” skills, I am happy with the results. The dots are not even in shape and spacing but I still think that it’s legible enough, especially if you know my name.

Colors used:
Chic Persian Red
Essence Tryin’ to be Cool

10 December 2011

Day 10 – Gradient


Hi everyone!

Today will be the last day for colors in the challenge. And I will be sharing some gradient nails.


I am currently on a vacation here at my Tita’s (translation: Aunt’s) house. I brought with me my “nail box” so I can continue the challenge. But I got worried last night because I left my sponge at home. I was about to use a piece of cloth for today’s mani. Fortunately, when I opened my box today, I found a lost eyeshadow sponge.


I used Essence Found my Love as base color and sponged in the other colors diagonally. I love the outcome.

I’m starting to get the hang of sponging / gradient nails.

How do you guys like it?

Colors used:
Essence Found my Love
Allue Pumpin’ Purple
SanSan Violet Glam
Le Couleurs de Salome

07 December 2011

Day 7 – Black and White

It’s almost a week since I started this challenge. For today is Black and White.


This is Essence Dance the Swan Lake and Grand-PliĂŠ in Black. Both are from Ballerina Backstage Collection. At the start of the challenge, I’m planning to do a keyboard design. But when I looked at my stash today, I saw this two polish, so I decided to just use this instead.


Dance the Swan Lake is a very pretty white polish. It have a very tiny red glitters that makes it very shimmery. Too bad the camera can’t capture its awesomeness. But you’d need three coats to hide your nail lines since the formula is very thin.


While the Grand-PliĂŠ in Black has small red glitters. I really think the red glitters makes the polish sexy. Its also a good base coat for a galaxy nail art since it already has “built in” red stars. Unlike Dance the Swan Lake, this polish only needs two coat to get full opacity.


Instead of doing an accent nail this time, I decided to paint all my nails with the same design but with an alternating color.

This design is inspired by Nailside’s V-Gap


Although unlike her perfect tape mani, I only free hand the design using the same polish. I’m not so much satisfied on how this turned out, but I liked it nonetheless.

Colors used:
Essence Dance the Swan Lake
Essence Grand-PliĂŠ in Black

05 December 2011

Day 5 – Blue

Today is the fifth day of the Challenge. What I have for you is Blue. Just like green, I don’t have a blue polish that I haven’t showed on my blog yet. But I decided I’d use a color that I haven’t posted here.


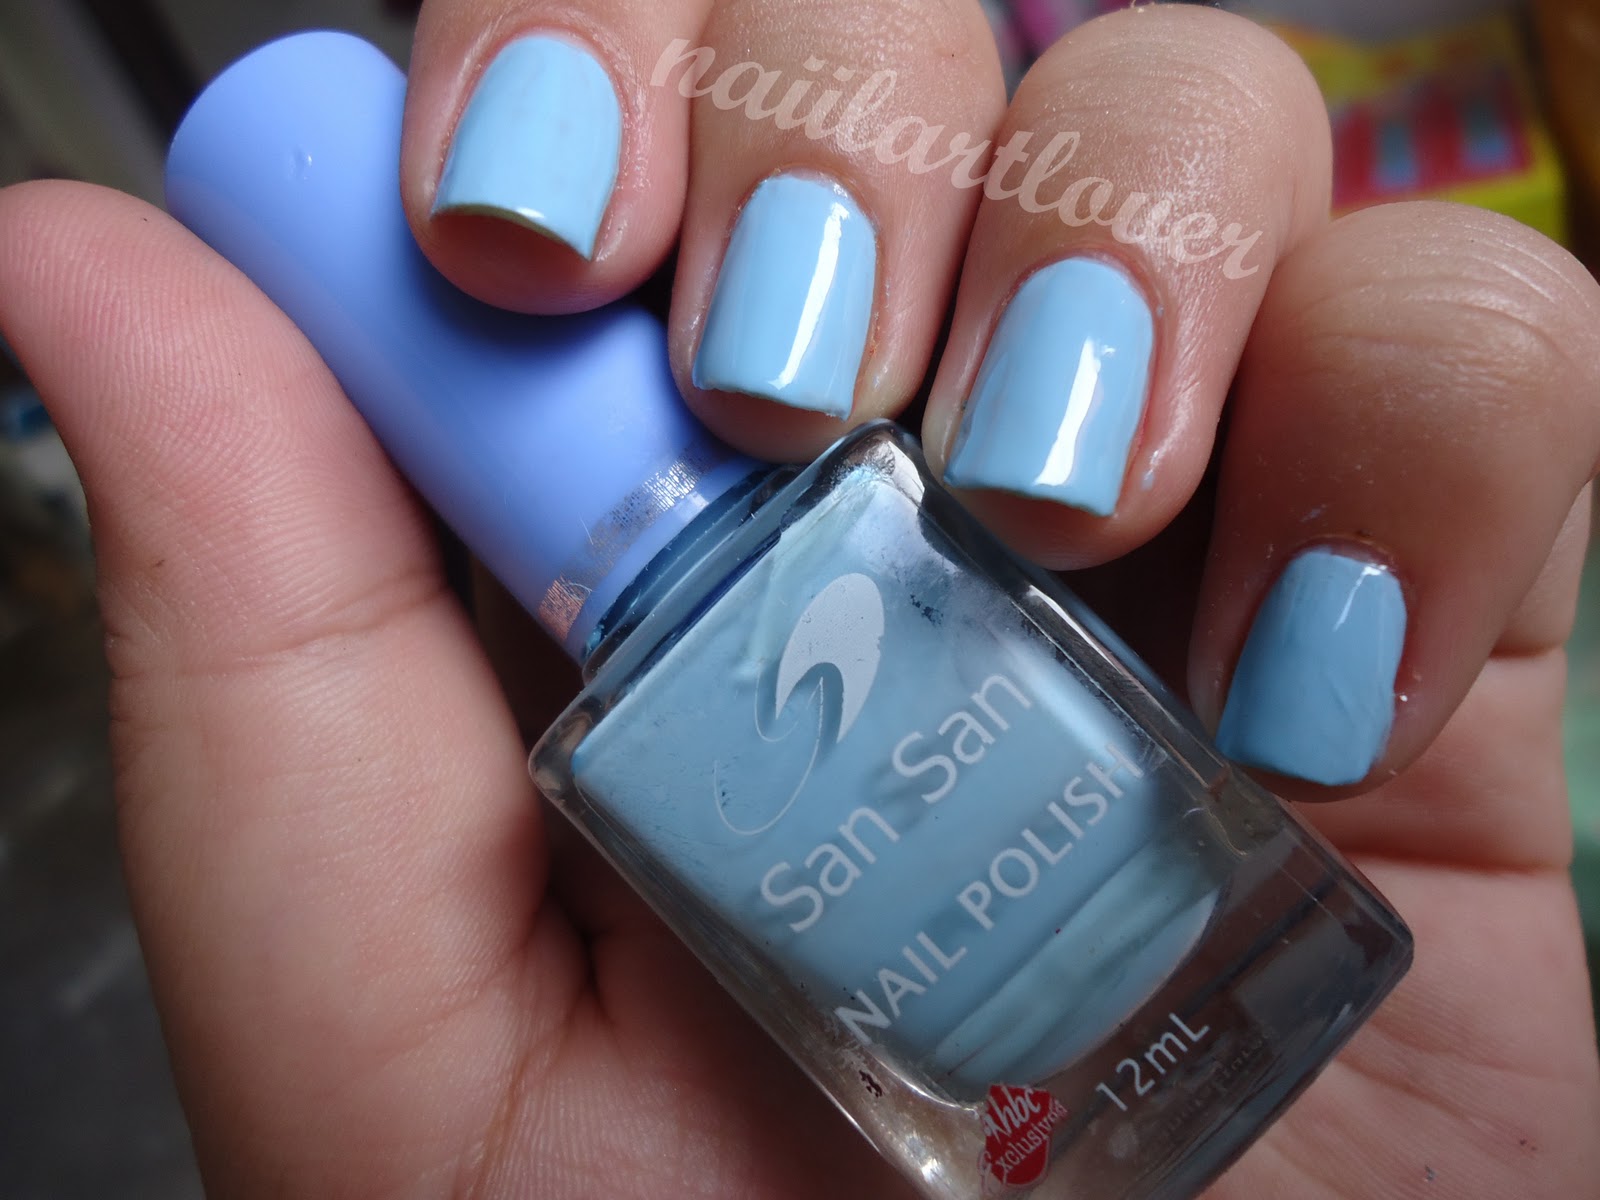
This is SanSan Warm Blue. SanSan is also a local brand, it’s an exclusive product of HBC. Just like most of my polish, SanSan Warm Blue is a regular light blue crème polish. It has a very good formula and consistency. and the best feature is that you only need two coats for it to be opaque.


Aside from a shiny finish even without the top coat, the light blue shade also appeals to me.


This shade of blue reminds me of a very clear sky and a beautiful weather to go to the beach.


So I decided to paint my accent nails some clouds and sponge in the ocean. Yes, that’s the cloud up there. I think the colors that I used doesn’t really look like a cloud.

Nonetheless, I like how this turned out. Reminds me of summer. I am more of a summer person. Especially that here in my country, we only have two season -- summer and rainy (I think that’s kind of like autumn in most countries). Blue skies and white clouds gives me hope and brings in a positive feeling for me. I love sunrise.


Which season appeals to you the most?

Colors used:
SanSan Warm Blue
Elianto Novy
Essence Tryin’ to be Cool
Orly Blue Collar

04 December 2011

Day 4 – Green

Moving on with the challenge. For the fourth day, we have the color Green. I do not own a lot of green polish. So today, I will be showing you something that I already swatched on my previous blog.

Bobbie Lush

This is Bobbie Lush, a regular green crème polish. Unlike Bobbie Vamp, this requires four coats to get full opacity. I forgot to use the white base, unlike the one that I used previously.


But I like the green shade and it’s consistency. the polish is easy to apply evenly.


I did have a hard time thinking of what to do as an accent nail. I’m thinking of the recycling symbol but I can not seem to figure out how to do that on my nails. After a lot of thinking, I ended up doing a non-green related design.


I love how I was able to draw the flowers. I know it’s not perfect. But I rarely draw a decent flower. So I really smiled after I was able to do this properly.


I also love how it looked on the camera. It looks like it’s a 3D flower, but no, it’s not.


Don’t you guys think the flowers are pretty?

Colors used:
Bobbie Lush
SanSan Warm Blue

11 November 2011

Funky French Flower

When I was in Holland, I stumbled upon nailside’s blog, (if you’re a fan of nails, you better check her blog.) She’s also from Netherlands, and she was the one who introduced me to some drug stores that sell cheaper polishes.

She does a lot of tape manis which I would like to try out more. I already did her laser mani way back. And now, I will show you another nail design that I copied from her, the Funky French.

Funky French


I’m only going to do a simple polish, but I got bored with how it looked like.

Essence Tryin' to be Cool


I remembered how her mani looked like and decided I’d give it a try. I started cutting strips of tape to use and tried to figure out how I’ll do them. While in the middle of all those cutting, I ruined my thumb a bit. So I decided to just paint the other four. And on the remaining nail, I decided I’d do a simple sun flower.

Funky French Flower


I wanted to put little dots on the brown part of the flower but after putting one dot, I don’t think I got my desired effect so I just choose to put a face on it.

Sun Flower


When I look at it, it looks like the plants vs. zombies’ sunflower. And I find it cute.

What do you guys think?

Colors Used:
Essence Tryin' to be Cool
LA Color Art Deco Yellow
Related Posts Plugin for WordPress, Blogger...