24 December 2011

Day 24 – Inspired by a Book

Hey there! We’re still working on this challenge as the holidays is approaching. And for today, what I have on my nails are something inspired by a book.


I was browsing thru the internet for some best selling books that are easy to do. Then I saw Alice’s Adventure in Wonderland. I haven’t read the novel itself. But I remember reading it in a book when I was younger.

Let’s take a closer look.


This is the Cheshire cat’s grin. It was said to be left in the air even after he left. Alice even remarked that she has often seen a cat without a grin but never a grin without a cat.

I used Neon Purple as base color. Then I used a nail art brush to do the grin.


On my ring finger is the Queen of hearts who Alice met in the Wonderland. I used Essence Perfectly True as base color and used BNC two way nail art pen to draw the hearts and letter Q.


Evidently, this is Alice’s dress. I used SanSan Warm Blue and Essence Perfectly True for this one.


The White Rabbit that Alice followed has a pocket watch. So I decided to use it here. That’s Perfectly True on base again and Art Club Bronze for the watch’s outline.


And last but not the least is the bottle’s label that Alice drank that made her shrink. I used Essence Found my Love for the base color and LA Art Deco Violet.

So what do you guys think about my Alice in Wonderland’s nail?

Colors used:

Neon Purple
SanSan Warm Blue
Essence Perfectly True
Essence Found my Love
LA Art Deco Violet

23 December 2011

Day 23 – Inspired by a Movie

Hello guys! It’s almost Christmas, and here I am almost done with the challenge. Today is Day 23 and I will be sharing an Inspired by a movie nail designs.

One of my weakness is horror / suspense thriller movies, especially the ones made by fellow Asian. Okay, so for today’s challenge, I kinda cheated a bit. It’s actually inspired by movies. What I have for you are Asian horror movies that I liked, well, most of them.


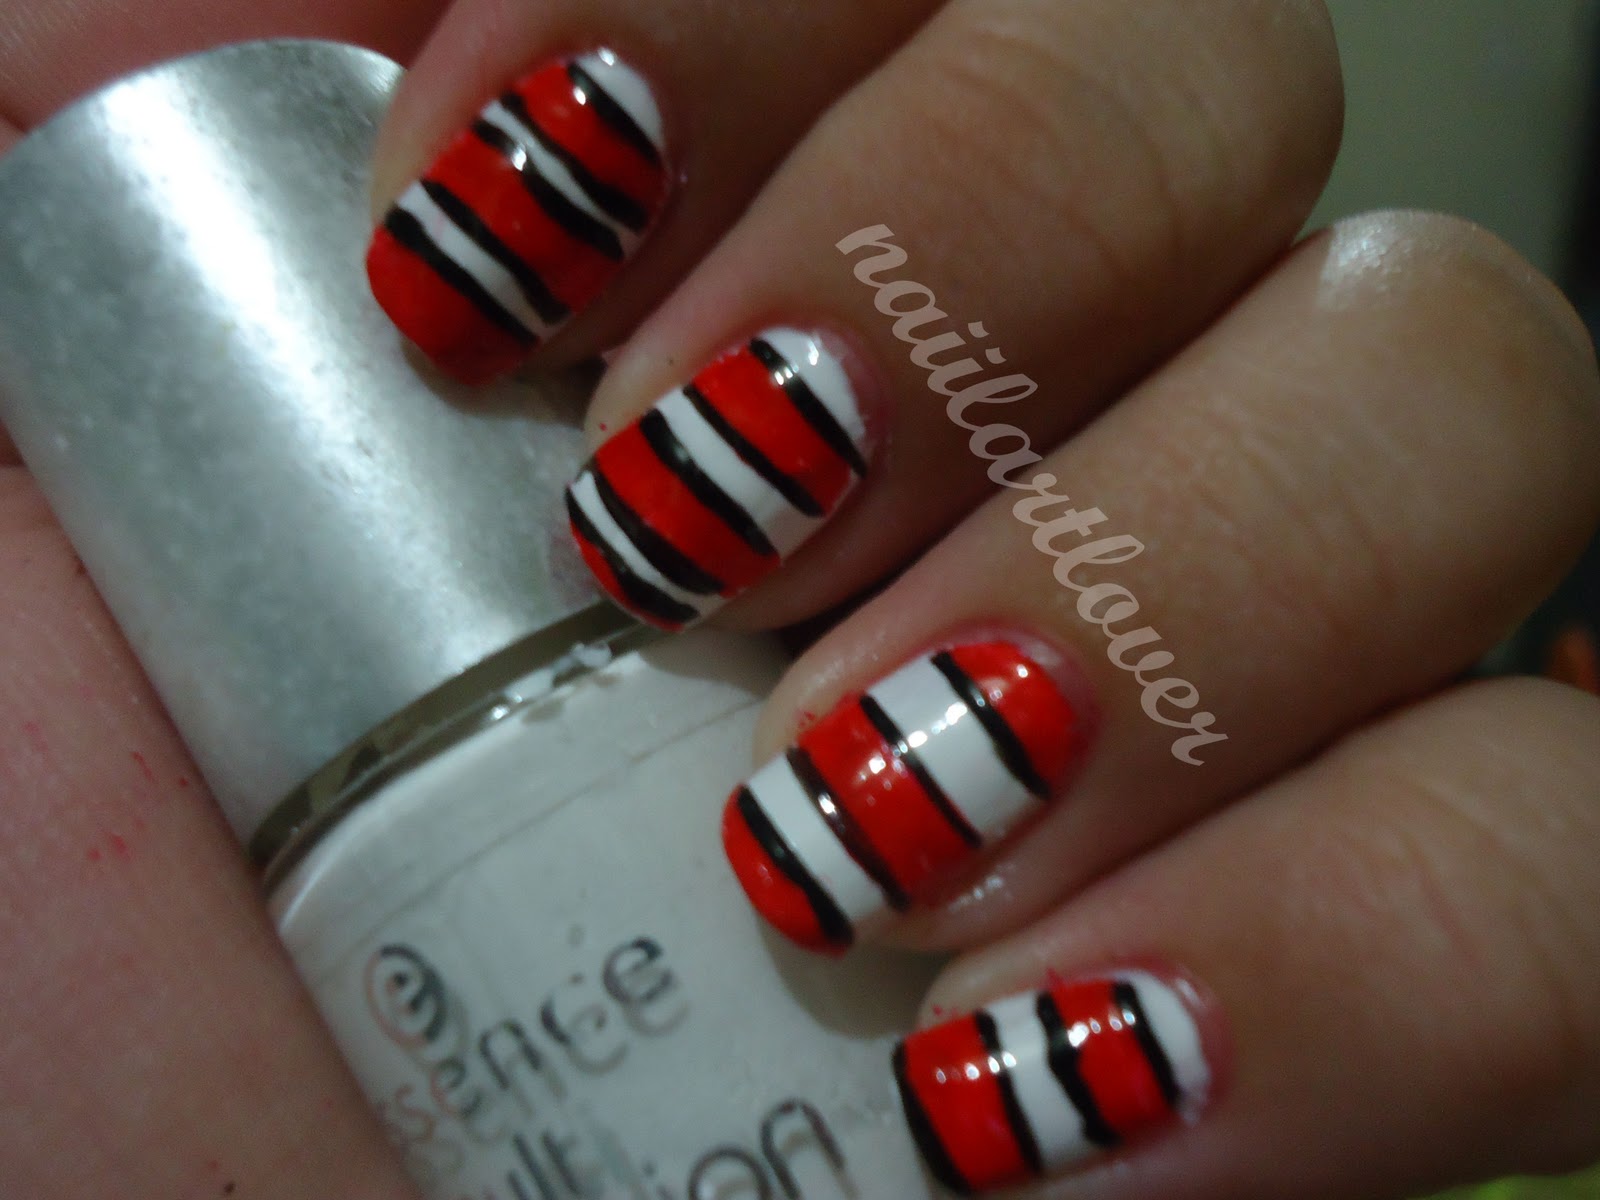
I liked how this turned out to be sort of a black and white design, except for the red eye.

Let’s go on into details.


On my pinky is my favorite Asian horror film, Shutter. Shutter Thai film. This a story of a photographer who is haunted by his past by the use of picture. He tried to solve the mystery, only to find out that his ex-girlfriend committed suicide after his friends raped her and he didn’t do anything about it. Okay, I don’t want to tell you the whole story.

It’s kinda funny how this is my favorite film yet, I hated it on my nails. I was trying to do a camera shutter design. But I failed on it one too many times. I decided I’d do a Polaroid picture instead. Yes, that’s a Polaroid, the back of the Polaroid picture actually. I find this hilarious since it looks like just a black square.


The reason why I said most of the designs are movies that I liked is because this next design is something that I haven’t watched yet. Yes, even though all of my classmates from way back High School watched this, I didn’t. I don’t know why. Anyway, on my ring finger is The Ring. The Ring is a Japanese movie that revolves around a cursed video. Wherein when the videotape is watch, the person will die in a week’s time. i don’t know much about this aside from what I have read. Maybe someday, when I get the chance to grab a copy of this movie I’ll be able to watch this.


On my middle finger is The Eye. This one is a film from Hong Kong and Singapore. This is a story of a girl who had an eye transplant and got more than what she expected. Aside from seeing what a normal eye can see, she can also see ghosts and spirits. She then struggles to find her donor and resolve the mystery.


On the index is also one of the movies that I liked. This is Alone. Alone is also a Thai film about a conjoined twins. The one of them is very sweet and protective. While the other one is sickly and jealous. The sickly one died after they were separated. Only to find out years later that it was really the sweet one who died. But the other one took over her identity so as to get the affection of her beloved. The sickly one wears a glass that she always keep so as her boyfriend does not find it. I find those eyeglasses relevant to the story since it was the indicator that the one alive is the jealous one. So I drew in The glasses.


This last movie is not my favorite, but among the five nail designs that I drew, this one is the one that stood up for me. This design is based on the movie The Grudge’s movie poster. The grudge is also a movie of curse. This time, the curse is in the house and anyone who enters it are being killed. The house is said to be haunted since the last family who lived there were brutally killed by the husband. Then he, himself committed suicide after.

In general, I like how this mani turned out. Sorry if this post turned out to be a movie summary. But I thought it’s the best way to describe the design.


Day 22 – Inspired by a Song

Hi guys! This is supposed to be up yesterday. But i had issues with the internet connection.

Anyway, We’re moving very fast on the challenge, seems like it was just yesterday.  We’re already on Day 22. And what I have for you are nails that are Inspired by a Song.

While most of the other “challengers” opted for pop music, I decided to do some classic.

Let me share a trivia and a random fact about me before I show you today’s mani. I’m the kind of person who tends to listen to the same kind of music/song for a long period of time. While most people my age are more likely to be inclined with pop music or anything that is recent, I prefer to listen to songs from years ago. Hence, the oldies song mani.

It was actually my eldest sister who suggested the song and I thought it was a good idea.


The song of Bryan Hyland, Yellow Polka Dot Bikini, inspires this design.

Let’s have a close up on each nails.

It was an itsy, bitsy, teeny weeny, yellow polka dot bikini,
that she wore for the first time today.
I want to start off with my ring finger which showcases the title of the song. I used Essence Perfectly True as base color. I outlined the shape of a two piece bikini using Sassy Nail Art Brush Black then filled it up with Elianto Yellow. And with the help of a dotting tool, I used Caronia Black Velvet to create the polka dots.

She was afraid to come out of the locker, she was as nervous as she could be.
On my thumb is a literal interpretation of a locker (the one you put your things in for safekeeping). Although I know that the song pertains to a locker where you change clothes and stuff, I find it hard to draw that in my nails. So I decided to do some representation.

I used Essence Got a Secret as base color and Sassy Nail Art Brush Black to outline the borders and the locker’s handle.

She was afraid to come out in the open,
so a blanket around her she wore.
On my index is a plaid blanket, it’s actually a common print for blanket here in our country. But I’m not sure if the same goes for different countries.

I used Caronia First Crush as base color and LA Art Deco in Yellow and Violet for the plaid. You might’ve seen this design before.

So she sat bundled up on the shore …
now she’s afraid to come out of the water.
On the middle finger is the view of the beach. I’m not sure if it does look like a beach to you, but it does for me.

I used SanSan Warm Blue  as base color. I then sponged in the sand and water using Bobbie Touch of Tan and Neon Blue, respectively. I drew in the clouds with Essence Perfectly True using a dotting tool.

So, that’s it for today. Thank you for dropping by. As always, feel free to leave a comment.

Colors used:
Essence Got a Secret
Sassy Nail Art Brush Black
Caronia First Crush
LA Art Deco Yellow
LA Art Deco Violet
SanSan Warm Blue
Bobbie Touch of Tan
Neon Blue
Essence Perfectly True
Elianto Yellow
Caronia Black Velvet

21 December 2011

Day 21 – Inspired by a Color

Hey there! We’re now starting the third and last part of the challenge: Inspirations. And for Day 21 we have Inspired by a color.

Most of the nail enthusiasts who did this challenge chose to recreate a color based on the name (most of them inspired by a nail polish color). I chose to do it differently.

I found tinkgurlnails’ crayola design very inspiring and appealing. So I decided to “copy” her design.


Since we’re dealing with colors, I think I still followed the theme. I gathered a couple of commonly used Crayola and painted on my four nails. Then I used a darker shade of the same colors to use as tips. I used a nail art brush to do that. Then with the help of my nail art polish, I striped in a thick black line and added the curves using the same color as the “crayon’s wrapper”


On my thumb I drew in green lines and the brand Crayola as what children would’ve seen in their boxes.


I’m impressed on how I was able to do this on my nails. It’s kinda cute and child friendly. Too bad I don’t know a lot of kids to show this off.

How do you guys liked it?

Colors used:
Essence Found My Love
Allue Pumpin’ Purple
Orly Blue Collar
SanSan Warm Blue
BNC Green Nail Art Brush
Bobbie Lush
Bobbie Vamp
Caronia Sweet Surprise

20 December 2011

Day 20 – Water Marble

Hi guys! We’re already done with the second leg of this polish challenge which is the patterns. Today is also the day I dreaded the most. This is the day I need to do Water Marble nails.

Okay, this isn’t the first time I’ve ever tried this. As a matter of fact, after several attempts on this one, I only had onesemi-successful water marble.  No matter how easy it may seem on video tutorial, such as the one by Simple Little Pleasures or how beautiful it may seem on gorjessnails or victoriac7, I cannot seem to do that on my nails. After a couple of drops and some dragging onto the water, the polish looks awesome. But for some insane reasons, it does not look like that when I dip my nails in, it doesn’t look like that – not even close.
This is my nth attempt to water marbling.


I would have to thank my 8 year old nephew (yes, the one who chose my nail polish). If it hadn’t been because of him, I might have given up doing this. He’s so amazed on how the polish spread onto the water that he kept on cheering me to do it all over again.

I chose a couple of color combinations to work with. I thought of doing some rainbow colors. I tried on my unbranded neon polishes. It didn’t work out good enough. I wanted to give up. So I scratched the idea off and just went over my stash again. I didn’t think of any design anymore. I just want to get it over with. I picked on some colors and started dropping polishes again. Some of it went straight to the bottom. I wanted to scream.

I started to use Orly Blue Collar and SanSam Violet Glam. It did pretty well at first. But I’m still not satisfied with how it looked. I tried SanSam Violet Glam and Rimmel Chocolate Factory. It did looked better.


Even though I said it looked better, I’m not entirely happy. But I just want to get it over with. I did not use the tape method before doing the marble, so as expected, the clean in is another story. Yes, if I would highly suggest that if you wanted to try this technique, put tape around your nails. Believe me, it would lessen your headache.

I’m not sure if you would notice, but the finished product had small bubbles and is nowhere near perfect. But please bear with me. This is the most decent design I can come up with. And please excuse the dirty fingers, as I’ve said, I’ve been a very stubborn to not use the tape.

No, I don’t think I’ll do this again in the near future.

Colors used:
Rimmel Chocolate Factory
SanSan Violet Glam
Essence Found my Love (Base Color)

19 December 2011

Day 19 – Galaxy

Hello everyone! We’re now on our 19th day of the challenge! And today I have some Galaxy Nails to show you.


When I first tried on galaxy nails, I followed cutepolish’stutorial. I was not quite happy with how that design turned out, but I think it’s not as bad for a first try. After my first attempt, I realized it’s easier to achieve the design using sheer polish instead.

So for today’s version, I chose polish that are not so opaque and sponge it randomly on my nails. This design looks complicated, but I can attest that this is not as hard as it looks like. Although this might take a lot of time to do, you wouldn’t really need a lot of effort to finish it up.


With the help of a make-up sponge (which I had to cut in small triangles) and some polishes, I was able to achieve the desired effect. I used Essence Grand Plie in Black as the base color. As I’ve previously mentioned, I love that it already have its “built in stars”.  Then I sponged in some sheer white using Lycra Flex Astor, followed some sheer colors which I will be listing at the end of this post. I added some big and random small dots for the stars and added Essemce Space Queen for the tinee-tiny stars.

Overall, I’m happy on how this one turned out. I’m thinking of trying out other patterns or color combination the next time I do this on my nails.


What do you guys think?

Colors used:
Essence Grand-Plié in Black
Lycra Flex Astor
Bobbie Piña Colada
Unbranded Purple Polish
Rimmel French Rose
Neon Blue
Essence Perfectly True
Essence Space Queen

18 December 2011

Day 18 – Half Moon

Hi everyone! Today is Day 18 of the Challenge. For this day, we are required to do Half Moon.


Half moons are something I like looking at other people’s nails, but not mine. And this challenge made me do it. Looking on a brighter side, I get to try it on my nails.

I’m not really sure if this would pass as half moon since I’m only using one color. I wanted to use Essence Do a Floating Pirouette but had a hard time choosing what color to pair it with. I ended up using only that color.

I didn’t use any paper reinforcement for this design, hence the crookedness. I used a nail art brush to draw the “moon’s” outline and filled it up using the polish’s brush. I used two coats.

Over all, I liked how I was able to do this design for the first time. But I’m not sure if I’m gonna do this in the near future.

What do you guys think of half moons?

17 December 2011

Day 17 – Glitters

Hi guys! I can’t believe I went this far on this challenge. Can you believe that I’m already on the 17th day? For today I will be showing you some Glitter nails.


For today’s challenge, I let my 8 year old nephew choose what color should I use. He chose Elianto Yellow. I really love the yellow shade but the application is really a pain in the neck. You’ll need 3 medium coats to make it opaque but yet, it’s still streaky. you would need a top coat to at least even it out.


After putting on 2 coats of Essence Space Queen, the streaks are not anymore visible. Space Queen have small multicolored glitters on a clear base. But I feel that the polish is so thick that I would have to wait till tomorrow to let it dry. (of course, I’m exaggerating). Here’s a closer look.


Those “sparklies” are the glitters. I actually like those glitters, maybe its just the color combination. I’m not really satisfied with how this turned out. It’s like I wanna remove this and change it with another one. But its too late for me to do that now. Before I wrap things up, let me show you how it looks in the bottle.


Lesson learned: not to use Space Queen over Yellow. Anyway, I have few more hours to have this changed.

Colors used:

Elianto Yellow
Essence Space Queen

16 December 2011

Day 16 – Tribal Print

Hi guys! Welcome to day 16 of the challenge. What I have for you are some tribal prints.


I’ve been wanting to try this design for a long time but didn’t find the time to do so. So thanks to this challenge, I was able to finally try this on. I decided not to use the typical white base. I saw this from Emerald Sparkled. But on that design, she used a gold polish. Since I didn’t have gold, I decided to use my most recent nail polish which is Art Club Bronze. This polish have a nail art brush, but I used a regular polish brush so that I can easily apply it on my nails. I used Essence Perfectly True on my accent nails. Then I used black nail art brush and dotting tool to draw the lined dots and sun.


I liked how this one turned out. I’m thinking of doing this again in the future so that I can wear it more than a day. Here’s a closer look on the design.


What do you guys think?

Colors used:
Art Club Bronze
Essence Perfectly True
Sassy Nail Art Brush Black

15 December 2011

Day 15 – Delicate Print

Hello everyone. We’re almost halfway through this challenge. For this day, our theme is Delicate Print.

I have been following Chalkboard Nails, The NailasaurusNails and Noms and Let Them Have Polish’s 31 Day Challenge to get some ideas and inspiration. I did have a hard time trying to figure out what to do for today. All the three others used stamping which I don’t have while Chalkboard Nails drew a henna tattoo. Despite the fact that I found their designs very awesome, I can not seem to get it done on my nails.

I started using Mr. Google to give me more suggestions. Lo and behold, he provided me tons of stamping designs. I thought of doing some lace design, but I don’t know how to start. After a couple more clicks, I finally found what I’m looking for.


This lace design is based on mynailsaredope’s tutorial. Although it is very detailed and would take a lot of time, I find her tutorial easy to follow.


I used 3 coats of Lycra Flex Astor as base color. It’s kinda sheer that’s why I have to use three coats to make it opaque. I’ve thought of doing white nails but my white nail art brush is nowhere to be found, so I ended up doing red nails. I still find it cute. In the tutorial, it says that you have to use rhinestones, but I don’t have one so I just used a dotting tool and some metallic nail polish in the middle. Here’s a closer look on how the lace looks like.


I love how it turned out. Although I missed on putting dots inside those semicircles, I still think I made a good job on this one.

Would this pass for delicate print?

Colors used:

Lycra Flex Astor
Sassy Nail Art Brush Red
Essence Nail Art Magnetics Magic Wand

14 December 2011

Day 14 – Flowers

Hi everyone! Today is already the 14th day of the challenge. I will be showing you some Floral nails.

Day 14 - Flowers


I am thinking of doing another Chalkboard nails inspired flowers (she really did a great job for her 31 day challenge). Unfortunately, I can’t find a flower that’s easy for me to do yet not so common. So I decided to just do a very simple flower.

Day 14 - Flowers


I used Caronia First Crush as my base color and free handed the flowers using a brush. I’m so happy to be able to draw a flower using a nail art brush. This is the second time that I was able to do that. The first is on my Funky French Flower, but that was only on my thumb. I already did a couple of flower designs way back but I normally use a dotting tool to create flowers since I’m not really good in controlling brushes.

Day 14 - Flowers


Even though I don’t think I made a good decision for my color combination, I still find the flowers classy and cute.

I hope you enjoyed and thanks for dropping by.

Colors used:
Caronia First Crush
Rimmel Chocolate Factory
Bobbie Touch of Tan

13 December 2011

Day 13 – Animal Print

Welcome to day 13 of the challenge. What I have for you today are some animal print.

I was thinking of doing a cow’s print for today’s challenge. But after seeing Chalkboard Nails’ design for this challenge, I got inspired and thought of doing the cow print some other time. She created a not so famous animal print. So I did some research and this is my result.

Day 13 - Animal Print


After doing the nails, it looked more of a Nemo (clownfish) to me. Is that what you think of as well? Here is my inspiration for this design.

Day 13 - Animal Print
This pattern is from a Red Milk Snake. I used Essence Perfectly True as my base color. I striped in some red and black polish for the skin. I think the proportions is not more of the snake’s that is why it look liked Nemo. 


Even if it looked like Nemo, I still think it will pass for this challenge since he is an animal. I did have a hard time controlling the brush specially with a shaky hand like mine. But I still love the design.

Does it look like a Clownfish or a Red Milk Snake?

Colors used:
Essence Perfectly True
Red 2 way nail pen
Sassy Nail Art brush Black

12 December 2011

Day 12 – Stripes

Hello guys! Today is the 12th day of this challenge. And for today, the challenge will be Stripes.


I wanted to do some tape mani for the stripes, but I wanted this day to be simpler and better. I opted for a free handed stripes since I’m not really comfortable in using tape on my nails.


I used Jean Michelle Passionate Plum as base color. It’s a violet polish that’s more in the red tone. The red in it really showed more when I added the pink stripes. Unfortunately, after putting on the stripes, the base color is not that visible anymore. I used pink and yellow striping polish to create the thin and thick lines. I like how those little bottles of nail art brush are available here at a very reasonable and cheap price. Although they don’t really come in a wide variety of colors. But at least they do have the basics.


I’m satisfied on how this turned out. I know there are a lot of room for improvement for my free hand designs, but I like how this turned out.

How do you guys like it?

11 December 2011

Day 11 – Polka Dots


I’m proud of myself for finishing the first ten days of this challenge. And for the eleventh installment, I have for you some Polka Dot nails.


I did have a hard time trying to figure out what design would look good with dots. I thought of doing some “French Polka” but it didn’t turn out pretty good. After a couple of trial and errors, I finally decided to just put on my name – my nickname actually.

My real name is Bo Yzolde, but I’m commonly known as “boyz” by my friends and family.


I used Chic Persian Red as base color and Essence Tryin’ to be Cool for the dots using a dotting tool. I drew some dots to create a smiling face on my thumb.


Although I know I need more practice in my “dotting” skills, I am happy with the results. The dots are not even in shape and spacing but I still think that it’s legible enough, especially if you know my name.

Colors used:
Chic Persian Red
Essence Tryin’ to be Cool

10 December 2011

Day 10 – Gradient


Hi everyone!

Today will be the last day for colors in the challenge. And I will be sharing some gradient nails.


I am currently on a vacation here at my Tita’s (translation: Aunt’s) house. I brought with me my “nail box” so I can continue the challenge. But I got worried last night because I left my sponge at home. I was about to use a piece of cloth for today’s mani. Fortunately, when I opened my box today, I found a lost eyeshadow sponge.


I used Essence Found my Love as base color and sponged in the other colors diagonally. I love the outcome.

I’m starting to get the hang of sponging / gradient nails.

How do you guys like it?

Colors used:
Essence Found my Love
Allue Pumpin’ Purple
SanSan Violet Glam
Le Couleurs de Salome
Related Posts Plugin for WordPress, Blogger...